
This guide takes you from your first sign-in to your first recorded job. Available screens depend on the modules and permissions in your workspace.
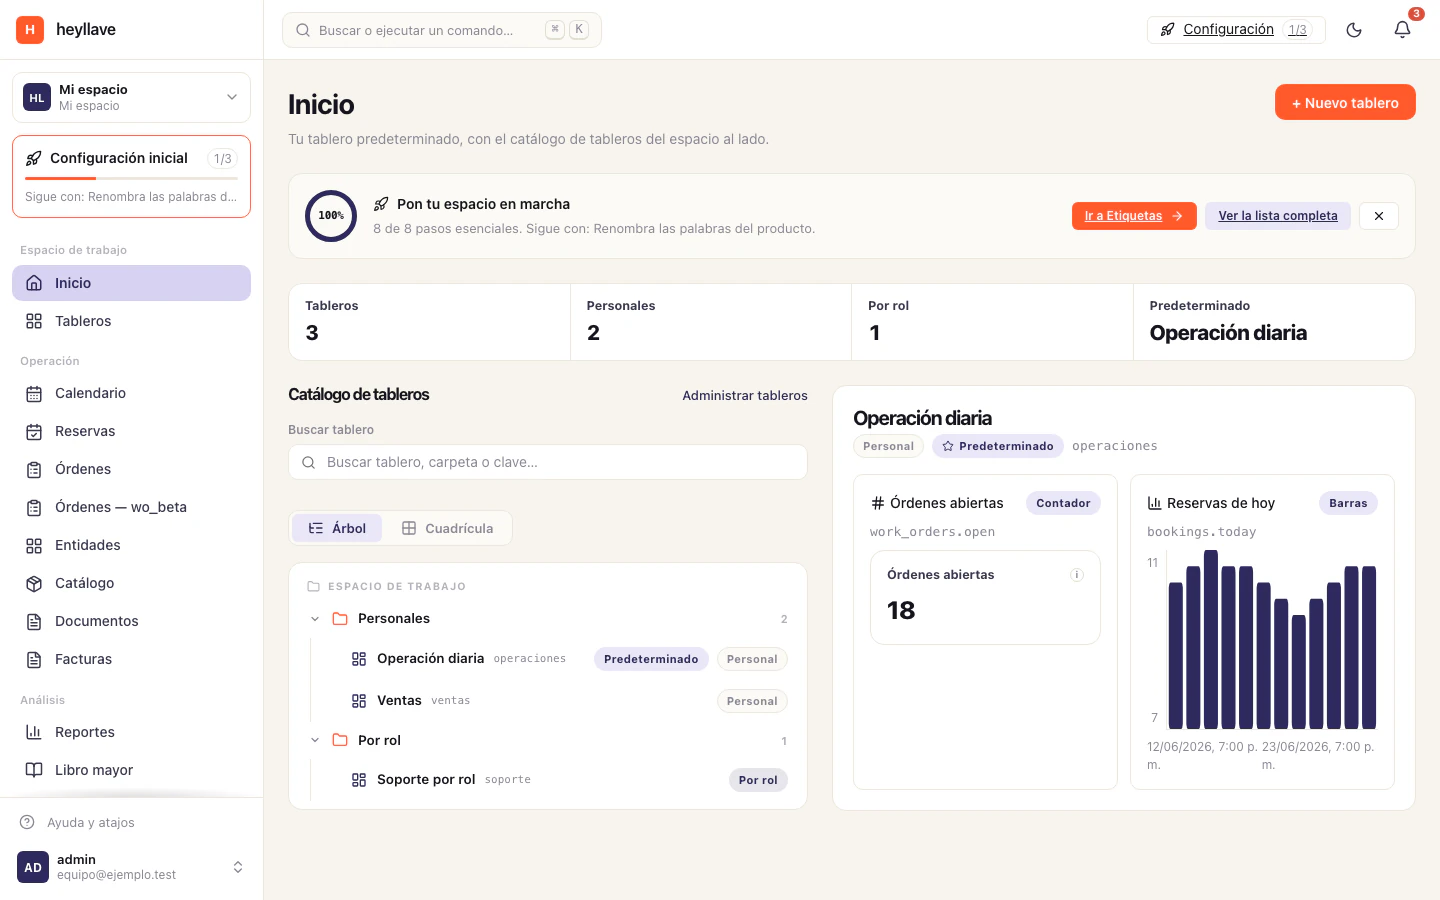
1. Enter the right workspace
Sign in with your email and select the business you need. If you belong to more than one workspace, check its name and subdomain before continuing. Learn how workspaces work →
2. Finish the initial setup
Review the business name, time zone, currency and basic details. Invite teammates with roles that match their tasks.
3. Organize what you offer
Add the services and items your team uses. Review prices, taxes and availability before using them in a booking, work order or invoice. Set up your catalog →
4. Record work and serve customers
Use bookings to coordinate an appointment and work orders to track a job. Keep customer information in the appropriate record.
5. Record charges and review results
If your team has the module enabled, create invoices and record payments when you receive them. Heyllave keeps the record; creating an invoice or entering a payment does not move money by itself. Invoices and payments →
If a screen is missing
Check that you are in the right workspace. Then ask an administrator to confirm that the module is enabled and you have permission for the task. The getting started checklist → helps review the setup.