
All of this lives under Team, inside Account and administration. The screen has tabs: Members, Users, Roles and Invitations.
You need the members permission to add people, and the roles permission to create roles.
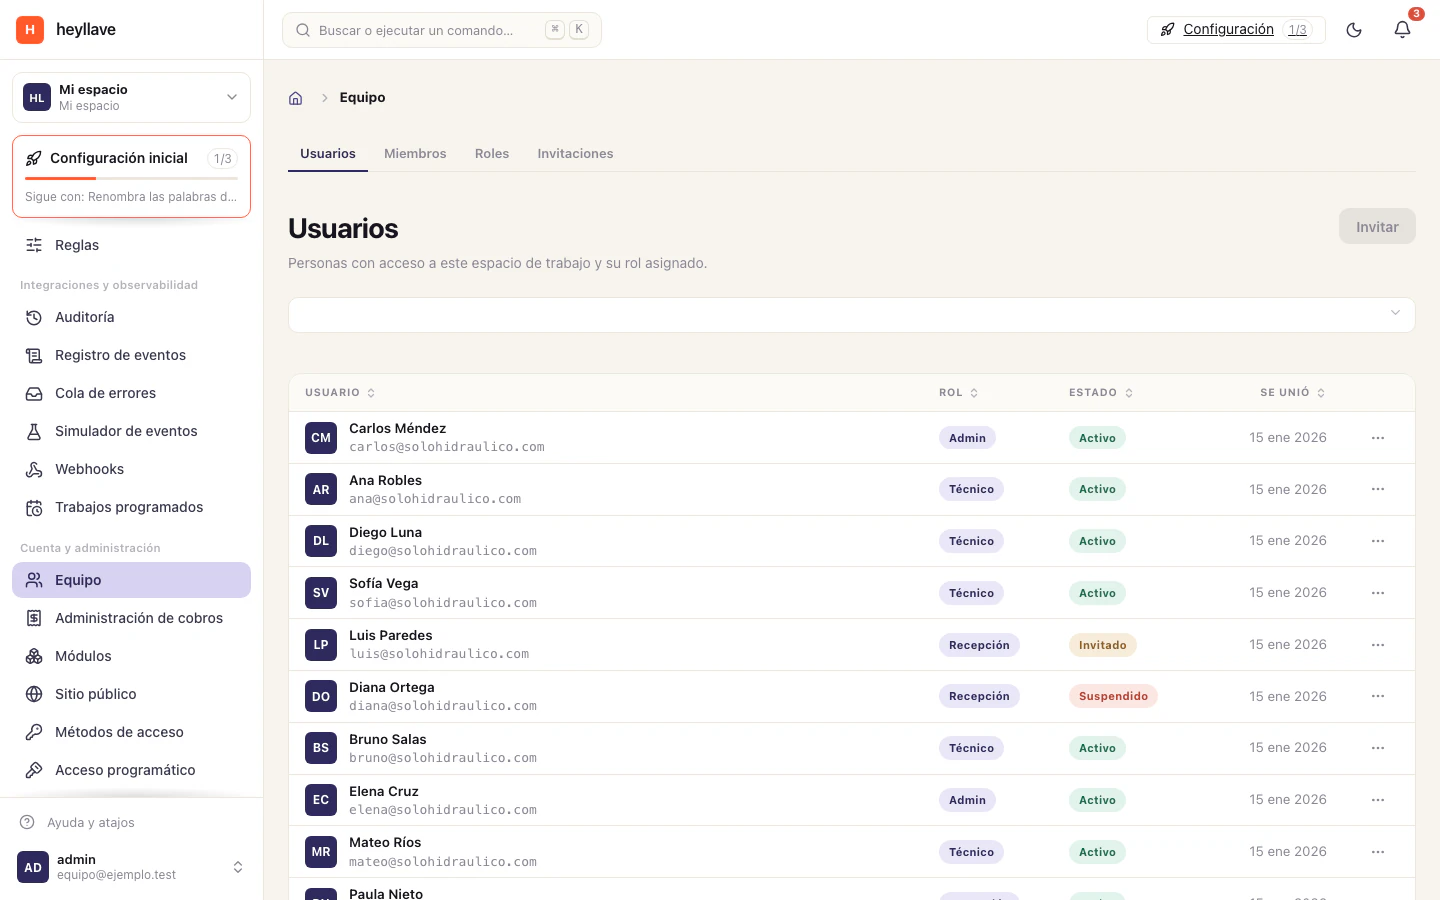
- Open Team
- Review members and roles
- Manage pending invitations
Before inviting: define the roles
Do not invite anyone “as an administrator so they can get on with it”. The role you assign today is the one that person will have by default for months.
Your workspace ships with system roles that the platform manages and whose permissions cannot be changed. On top of those, create the custom roles that reflect your operation:
-
Go to Team → Roles and use Create role.
-
Give it a name that needs no explanation — “Workshop supervisor”, not “Role 2” — and a one-line description.
-
Tick the permissions. They are grouped by module, and each one says what it enables.
-
If it is the role most new people should receive, mark it as the default role.
More about roles and permissions →
Add members
Team → Members → Add membersYou pick one role and then the people who will have it:
- Someone who already has an account comes in as soon as they accept the invitation.
Someone without an account yet receives an email with the acceptance link. To invite a person who does not show up in the search, type their full email address and use Invite “…” by email. They create an account, or sign in with the one they already have, and accept the invitation from that link.
If the message does not arrive, confirm you typed the address correctly and ask the person to check their spam folder. If it still does not show up, the administrator should check that outgoing email is configured in the workspace. Do not share invitation tokens or links in public channels.
Temporary access
When you add somebody who already has an account you can put an end date on their access: permanent, in a week, in a month, or a date you choose. Access ends at 18:00 on that day in your time zone.
Temporary roles
Sometimes you do not want somebody to stop signing in — you want them to stop having so much authority. That is what a temporary role is for.
Under Team → Members, open a person’s menu and choose Manage access…. There you set:
- Workspace access — when they stop signing in altogether.
- Temporary role — a raised role that expires on a date. When it ends, the person returns to their previous role and remains a member.
If you remove the date from a temporary role it does not revert to the previous role: you have made it permanent. Heyllave confirms this before applying it.
Change someone’s role
- Open Team → Members.
- Find the person and locate their row.
- In the Role column, open the selector and choose the role they should have.
The selector only shows roles you have permission to assign. If the role you need is not there, ask someone with sufficient permissions to change it. See System roles and custom roles to know which you can assign and which can be edited.
Pending invitations
Team → InvitationsEvery invitation has a status: Pending, Accepted, Expired or Revoked.
- Revoke voids the invitation immediately.
- An expired invitation is not “renewed”: create a new one so the person gets another email with a valid link.
Remove someone from the workspace
In the person’s menu, Remove from workspace. They lose access immediately and you can add them again later. Their activity history is not erased: what they did stays in the log.
View as another member
If you have permission, you can use View as on an active member to see the product exactly as that person sees it. It is the fastest way to resolve an “it doesn’t show up for me”.
The viewing session is read-only and time-limited. While it lasts, a banner at the top shows whose view you are in, and you can leave at any time.
Control how each person signs in
From a member’s menu, Sign-in methods lets you choose which methods that person can use: password, passkey, magic link or a connected account.
If you allow none, all are allowed. Heyllave will not let you leave somebody without any method they already have configured — that would lock them out.
If something doesn’t work
Inviting, updating a member and managing their sign-in methods are separate permissions, and assigning a role also requires being able to read the role list. If the person does not receive the email, check the address and send again: an expired invitation is not renewed, it is created anew. If they sign in but do not see what you expected, the role is where to look, not the invitation.